boysenberry
blueberry
strawberry
raspberry
elderberry
lignonberry
blackberry
thimbleberry
gooseberry
buffaloberry
barberry
bearberry
checkerberry
juneberry
bilberry
huckleberry
bunchberry
partridgeberry
mulberry
nannyberry
snowberry
cranberry
cloudberry
deerberry
hackberry
dewberry
sugarberry
|
 |
 |
| Home |
Poetry |
History |
Recipes |
Jam or Jelly? |
Recipes
|
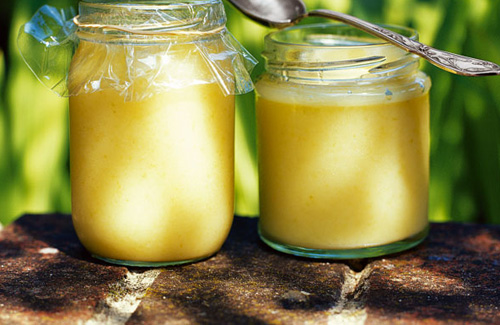 The simplest and most ancient jams were composed of approximately equal parts fruit and sugar, reduced and placed in crocks to store.
Modern day recipes, instead of calling for a great quantity of
reduction, often include the addition of pectin for firmness, which can be achieved naturally by the addition of apple parings. Lemon or another acidic agent such as citric acid is included in order to gel the pectin. Modern day methods also call for a wax topping or steam canning to ensure sterility and to seal the jam jar.
Below are two basic jam recipes, one old fashioned, and one
quite modern, to which ginger, ginseng, eluethero or other
medicinal compounds may be added in small amounts, in keeping with
origin of the "electuary" jam.
Old Fashioned Rhubarb Jam

Cut the rhubarb in pieces 1 inch long, take sugar pound for pound. Mix
together and let stand all night. In the morning pour off the syrup and
boil until it begins to thicken. Add the rhubarb and boil gently
twenty-five minutes. Put up in tumblers. It will keep a year.
Modern Raspberry Jam

4 cups (1 liter) granulated sugar
4 cups (1 liter) raspberries

1. Place sugar in an ovenproof shallow pan and warm in a 250F (120C)
oven for 15 minutes. (Warm sugar dissolves better.)

2. Place berries in a large stainless steel or enamel saucepan. Bring to
a full boil over high heat, mashing berries with a potato masher as they
heat. Boil hard for 1 minute, stirring constantly.

3. Add warm sugar, return to a boil, and boil until mixture will form a
gel, about 5 minutes.

4. Ladle into sterilized jars and steam close per the instructions below.

Tip: To make a small boiling-water canner, tie several screw bands together
with string or use a small round cake rack in the bottom of a large covered
Dutch oven. Be sure the pan is high enough for 2 inches (5 cm) of water to
cover the jars when they are sitting on the rack.

Processing Jam:
20 Minutes Before Processing
Partially fill a boiling-water canner with hot water. Place the clean,
empty canning jars you are planning to use into the canner. Have a kettle
with boiling water handy to top up the water level. Cover and bring the
water to a boil over high heat. Boil for at least 10 minutes to sterilize
the jars.

5 Minutes Before Processing
Approximately 5 minutes before you are ready to fill the jars, place the
lids you are planning to use in hot or boiling water according to the
manufacturer's directions.

Filling Jars
Remove the jars from the  canner and ladle the jam into the hot jars to
within 1/2 inch (1 cm) of the top of the rim (head space). Remove any
trapped air bubbles by sliding a clean small wooden or plastic
spatula between the glass and the jam; make sure there is still 1/2 inch
(1 cm) of head speace when you are done.  Wipe the jar rim to remove any
stickiness. Center lid on jar; apply screw band just until fingertip tight.

Processing Jars
Place the full jars in the canner and adjust the water level to cover the
jars by 1 to 2 inches (2.5 to 5 cm). Cover the canner and return the water
to boil. Begin timing when water returns to a boil, and process for 5
minutes.

Remove jars from the canner to a surface covered with newspapers or with
several layers of paper towels and cool for 24 hours. Check jar seals
(sealed lids turn downward). Label jars with contents and date and store
in a cool, dark place.
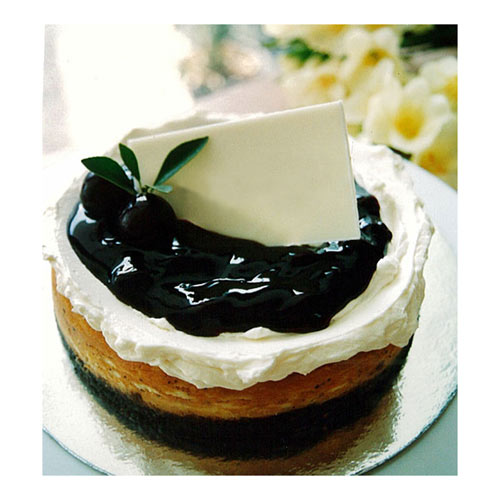
There are a variety of ways to enjoy fragrant, sweet jam. Traditionally, in Europe, jam was simply eaten with a spoon. Some spread jam on breakfast toast, scones, or biscuts. Jam is also a popular waffle topping. Jam is layered in cakes and jelly rolls, and used to top cheesecake. A dab is placed on jam cookies, danishes, lavishly filled in donuts, and any kind of pastry
imaginable! Jam is also popular as a glaze for roasts, vegetable dishes, and desserts such as ice cream and blintzes. The
imagination is unlimited in devising new and unique ways to enjoy
such a dear traditional food.
|
Designed by Sara Morningstar © 2009
|